Black Walnut Game Board
Overview
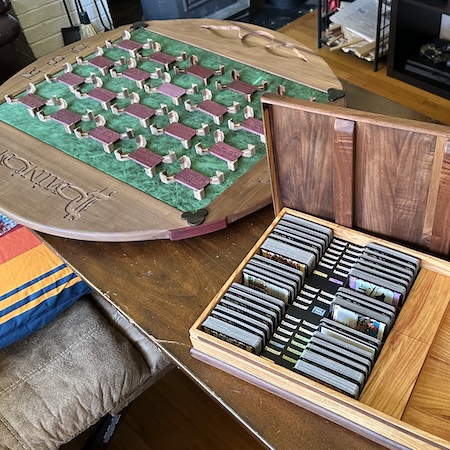
This very special project I made as a wedding gift for a friend. It was designed specifically for one deck building game, but with the intent of being adaptable to other games with similar structure. And also usable for puzzles, lego projects, board games, etc.
Step one was to come up with a fundamental design that met the requirement to be a versatile board that could adapt to new and different games, yet still meet the core requirement of holding 20 piles of cards neatly and securely. That required more engineering than I expected, as the card holders made of wood needed to be small and adjustable yet strong and stable on the board. I wanted to use magnets to hold them.
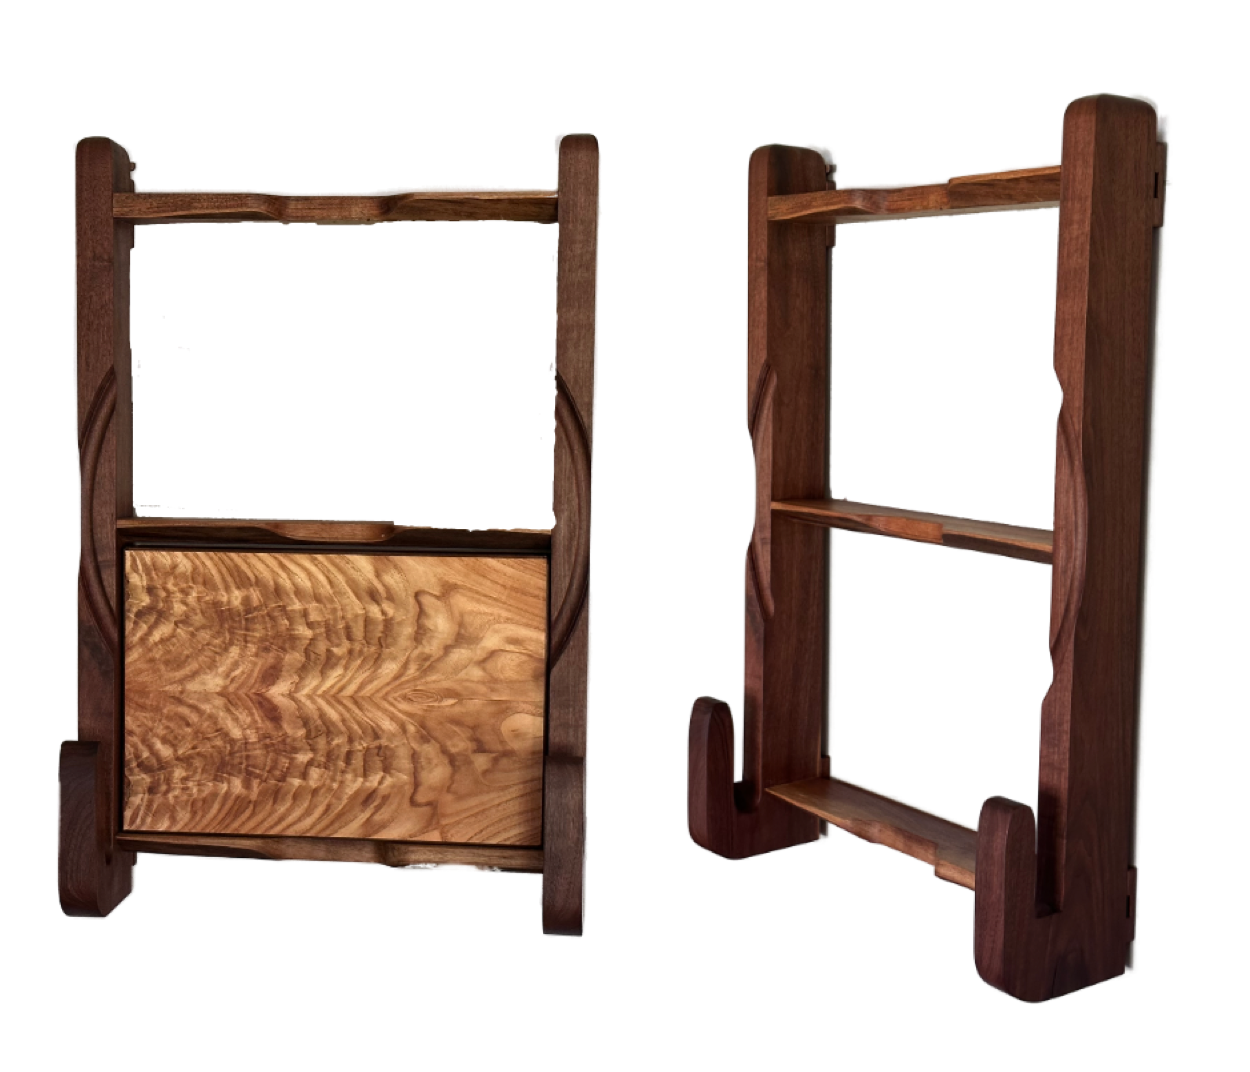
Step two was to build a shelf to hold this quite large 32" round board. The shelf itself was one of the easier parts of the project but required a little bit of extra creativity. In the shelf design I had 'standard' style inner shelves to hold the boxes of cards and then integrated J-shaped hooks on the bottom of the shelf sides to hold the board itself. Sadly, or fortunately, depending on how you look at it, I made the inner shelves fixed-size and too small.
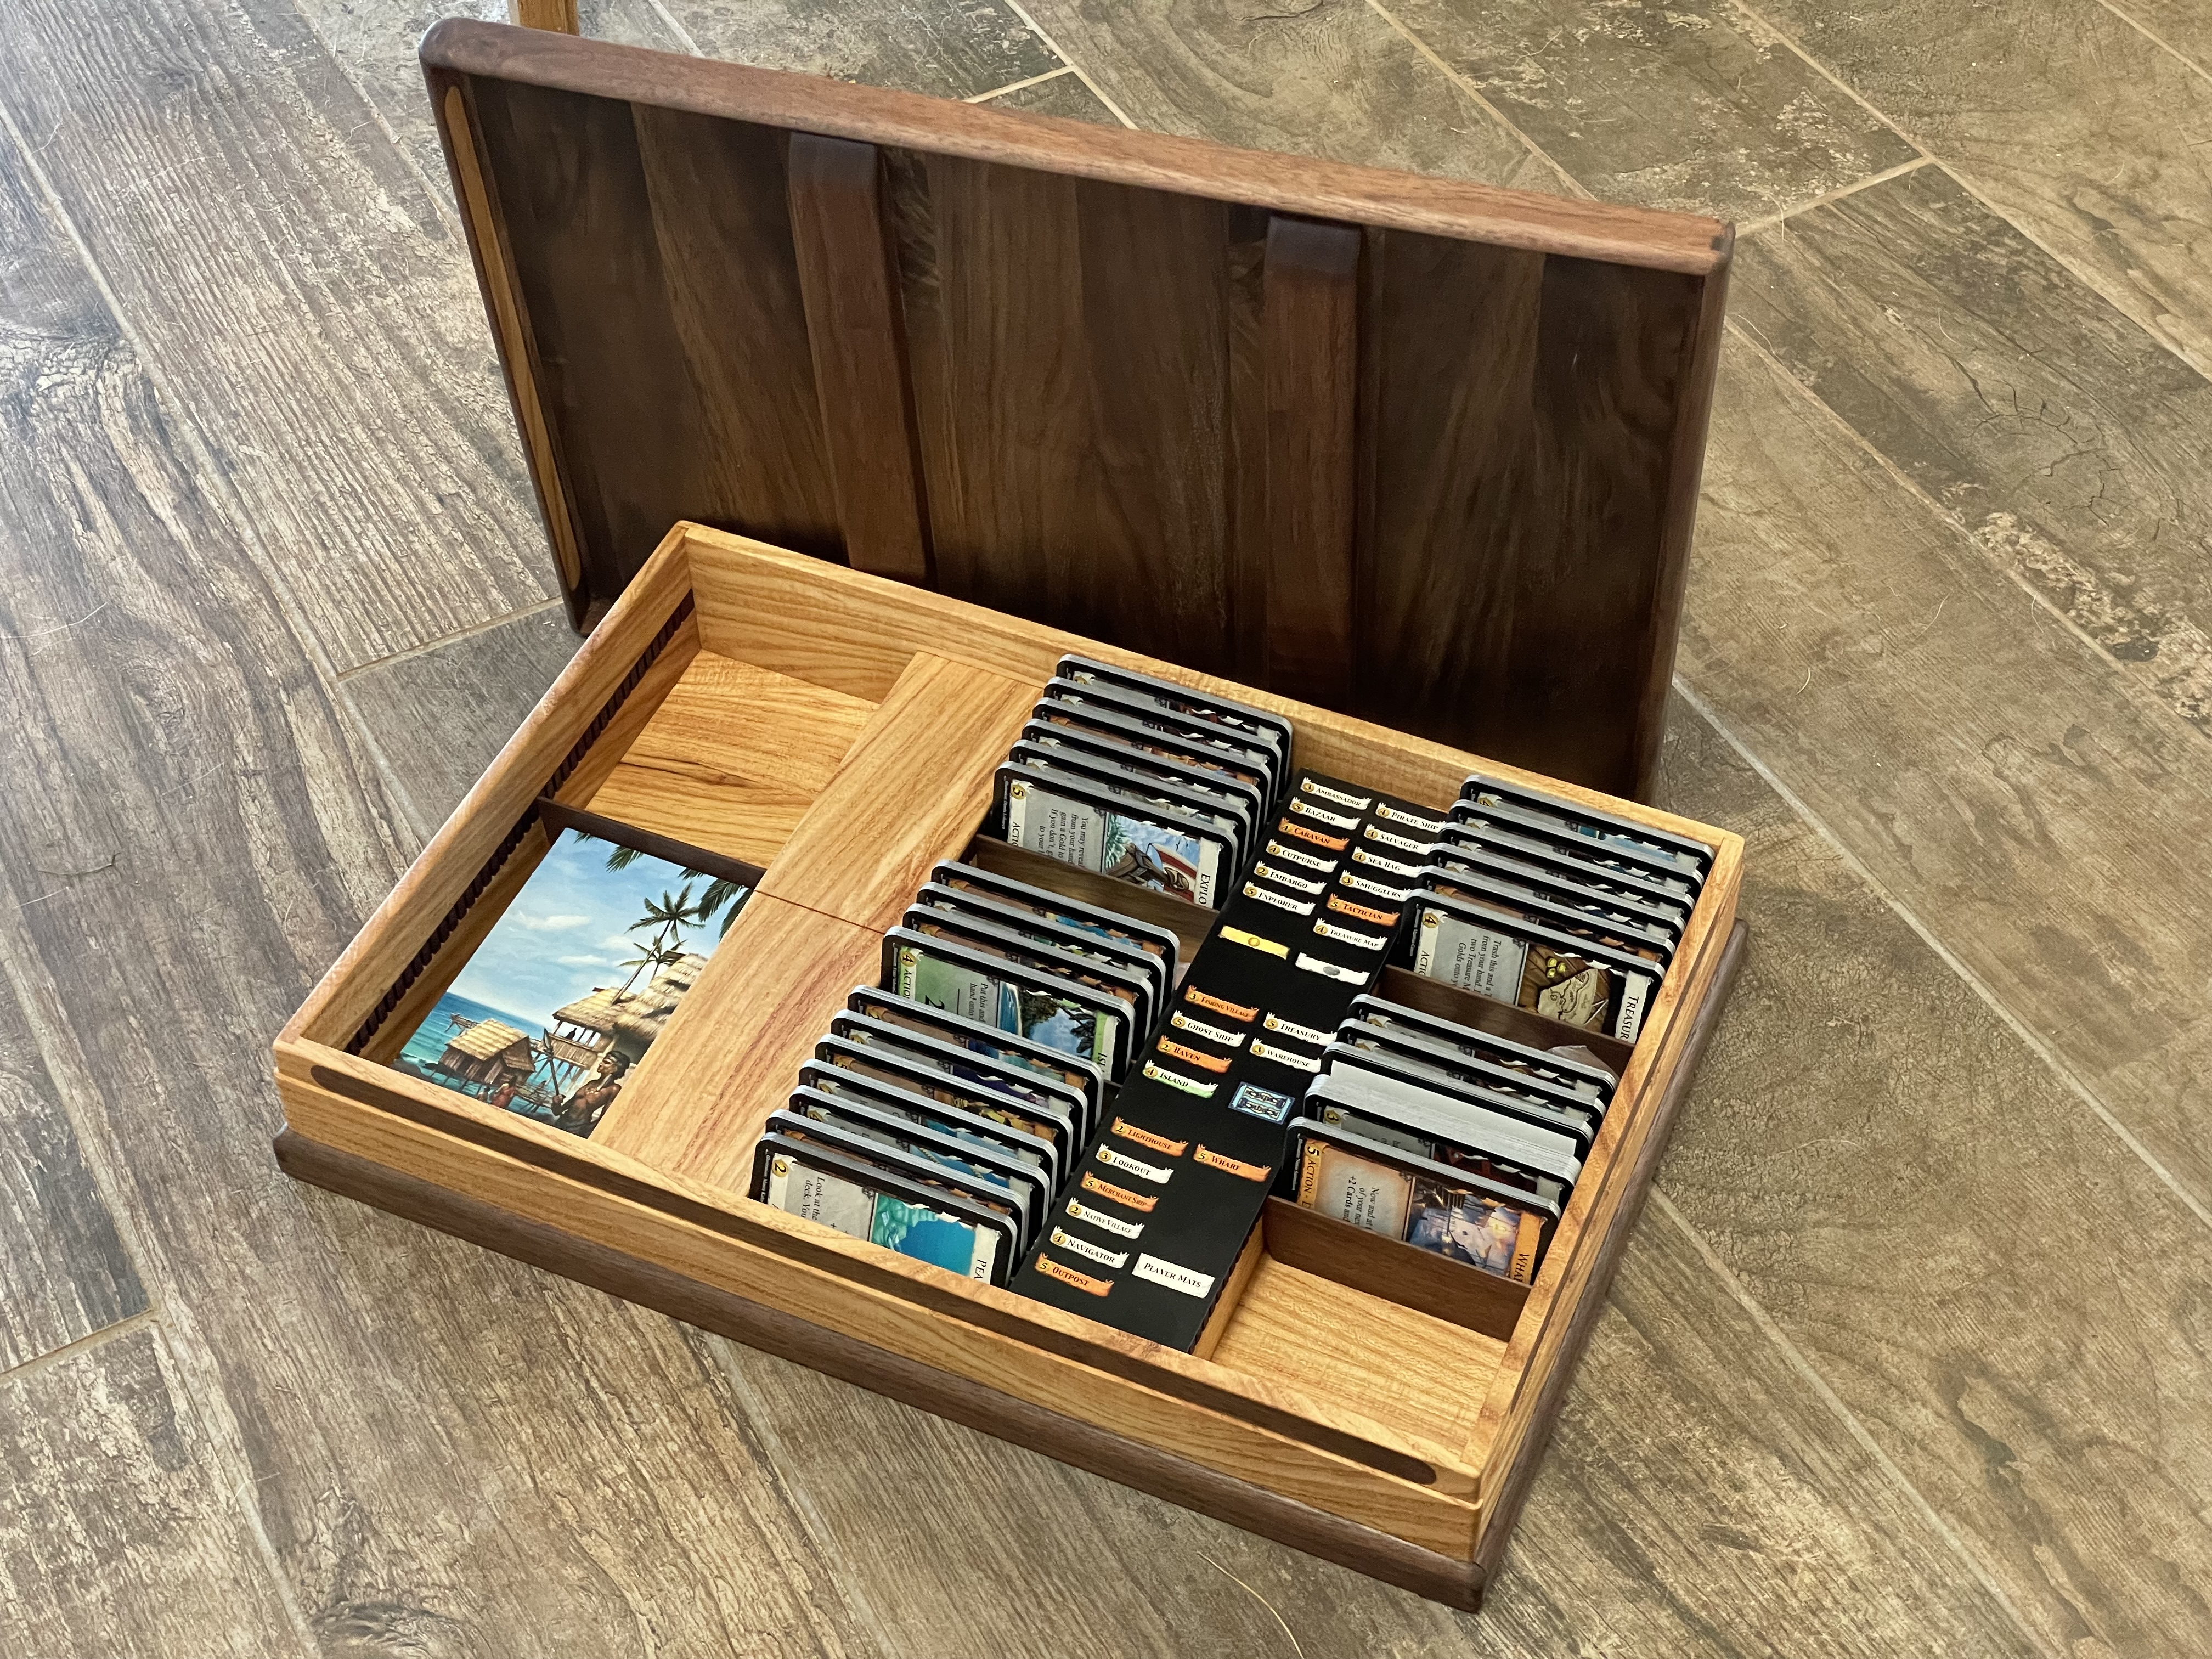
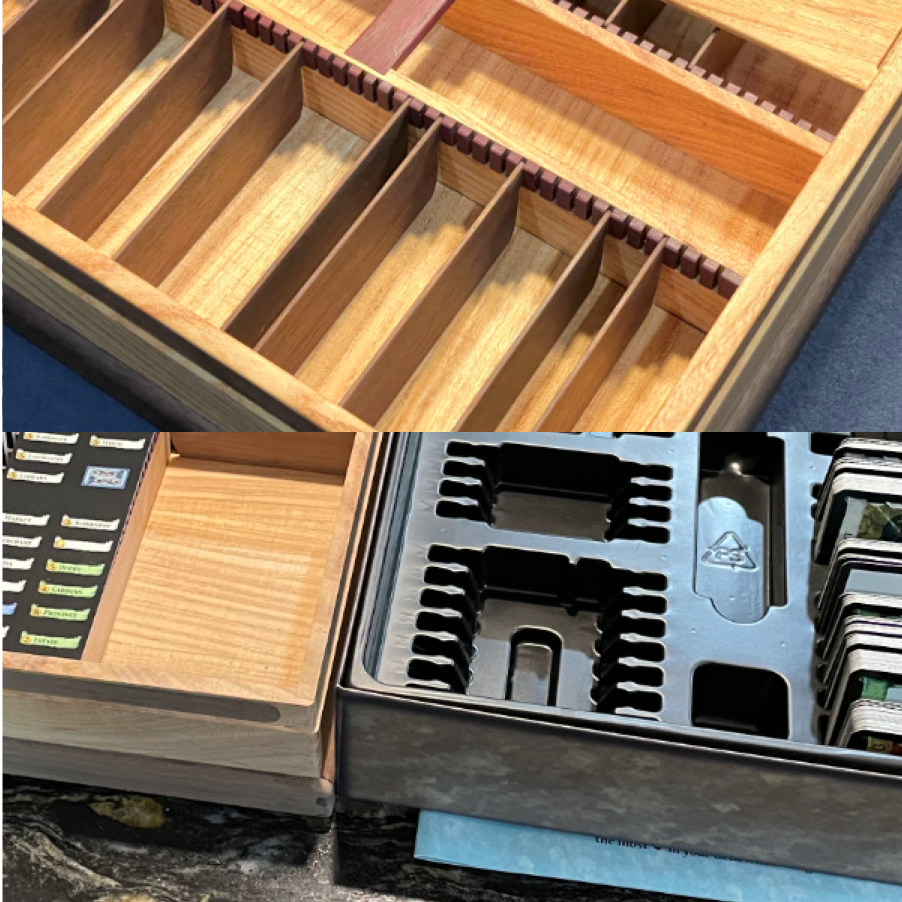
To address having used the wrong source to spec the size of the inner shelves for the card boxes, the project now had step three. A real challenge. Part of the problem was that the cards are sold in plastic and cardboard containers that don't need the thickness of wood. The other part of the problem was that the shelves were only deep enough for the cardboard and plastic boxes. This meant the box had to be built with very tight tolerances to fit in a tight space, yet able to hold the cards comfortably. And since I didn't want to make two of them, it had to have room for more than one box of cards.
Materials & Construction
Materials:
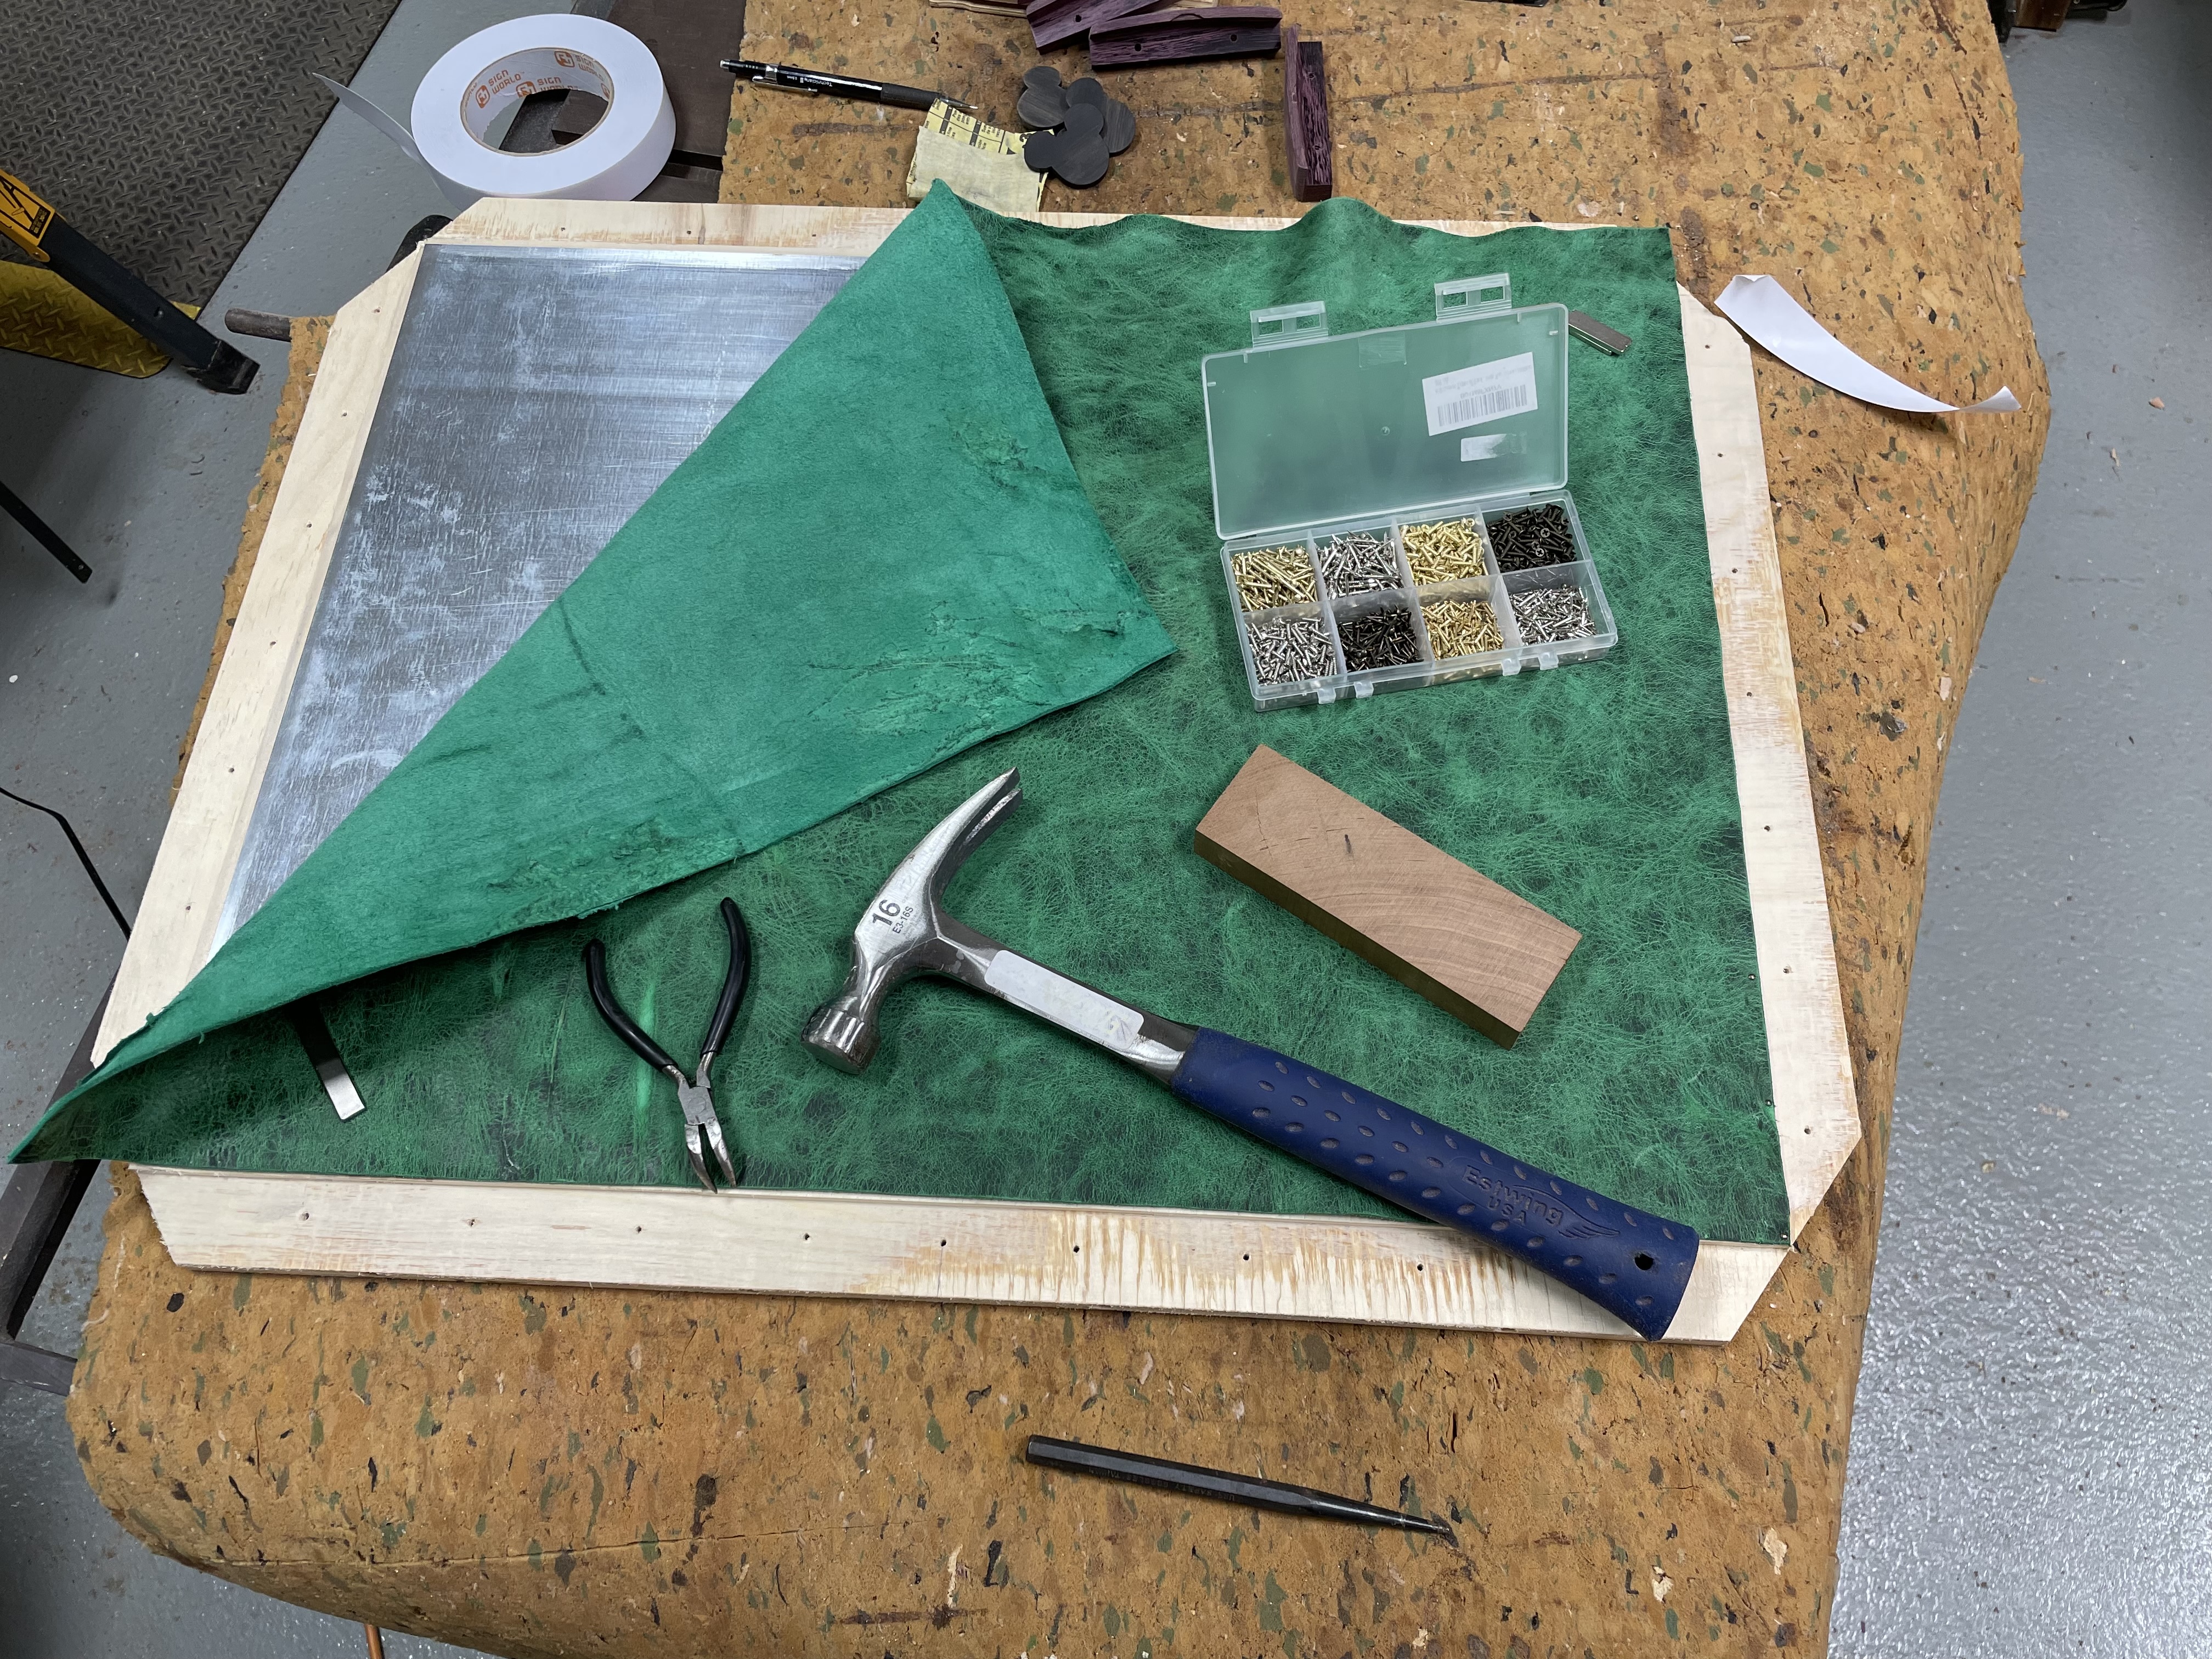
Board: Locally sourced black walnut from Hearne Hardwoods, green pull up elk leather from Montana Leather Company, with highlights in Central American purpleheart and Gaboon ebony. Card box is locally sourced butternut, Shelf is solid black walnut.
Construction Notes:
The two most interesting construction notes have to do with the card holders and the box.
The card holders needed magnets strong enough to stick through the leather, yet small enough to allow the base of the card holders to be unobtrusive. At one point, it seemed possible to put the magnets in the sides of the holder, but that conflicted with the other design goal which was to make open sides so players wouldn't need to dig out the bottom cards.
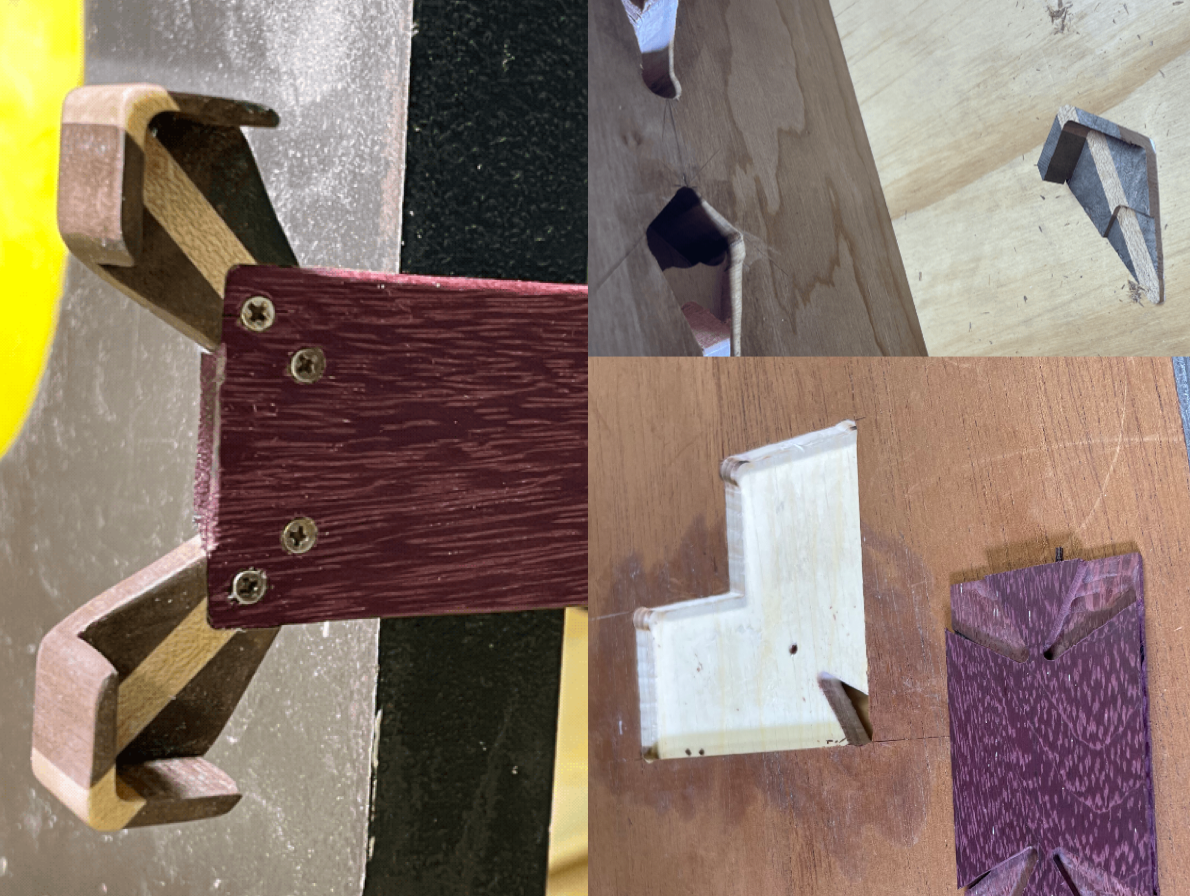
I ended up creating a base unit of the card holders using a thin strong piece of purpleheart, and then I cut slots in the sides for magnets, allowing about a 6mm total height with 2.5mm magnets, and just over 1mm separating the magnet from having direct contact with the playing surface. With the leather also adding some thickness, this was just enough stickiness to work.
The corners of the card holders were challenging because of wood grain. I designed the holders to have four wings attached to the base. But the wings had to be sturdy and with a single piece of wood, there was always a weak-grain somewhere which led to a 3-ply criss-crossing grains idea. This provided structural stability in the very thin sections in all directions.
They were also challenging to make simply because they are small and required lots of wood removal, very precisely. It gave me a fantastic opportunity to polish up my jig-making skills. With 20 card holders, that meant at least 80 wings.
The card holder design required the top and bottom to add only a total of about a half inch to the total depth of the box. Easy enough with plywood I suppose, but with solid hardwood I wasn't comfortable that construction would be stable enough. Also, I had a beautiful piece of highly figured butternut that I was determined to use but it had to be more of a veneer than structural.
To make the box as big as possible, and also because the project was already using magnets and I had lots of extra bigger ones from failed card holder ideas, the top was designed to magnetically attach to the bottom without hinges or clasps. This allowed more structure around the edges and that gave more overall stability to the top.
To fit variable sized card stacks in the box, I built adjustable slots. This was more tedious than clever but I do look back on it now and am impressed with the way I cut the slots for the dividers, and basically the overall design for making the sliders sturdy yet unobtrusive. The covers for the dividers also made for convenient internal extra storage space for non-card items.